This is one of my favorite go-to sweet treat recipes because it’s so versatile: a cake batter with a pumpkin puree base. Healthier and more nutritious than a purely flour-based cake, you can change up the additives to make a variety of flavors.
Jump to RecipeThe recipe starts with pumpkin. Or squash. What’s nice about this recipe is that it offers a lot of room for substitution and variation. Pumpkin may be difficult to get when not in season (it seems in the US, pumpkins are exclusively a Halloween and Thanksgiving thing), but you can substitute it for any kind of autumn squash, such as butternut or acorn squash.
Pumpkin and squashes are great substitutes for a lot of the wheat and dairy that would normally be used in a muffin or cake recipe. It’s starchy like a grain and holds moisture well, but at a fraction of the calories and carbs with added nutritional benefits (pumpkin is an excellent source of vitamin A). The flavor is also pretty neutral. Combined with a more substantive secondary component, like almond flour, pumpkin pureé makes sure the cake-like texture comes out perfectly moist every time.
Personally, I love making this with kabocha squash. Kabocha squash is a Japanese varietal that’s pretty commonly sold around the Bay Area. It’s shaped like a pumpkin, but is green on the outside with bright orange flesh within. The taste is nuttier and sweeter than your standard pumpkin (and sort of tastes like chestnuts to me), so when you cook with it, you can reduce the amount of added sweetener used.
If I am doing this the right way, I will start with a fresh kabocha squash, cut it, steam it, scoop out the orange flesh, and blend it with water in my Vitamix to make that pumpkin pureé.
However, starting with a fresh pumpkin is a lot of added steps and mess that takes more processing time and is more difficult to store. I highly recommend starting with kabocha squash for the best nutritional return on your efforts, but if you’re strapped for time or energy, your standard canned pumpkin will work just fine.
Steps:
This recipe is designed to work with a single 15-16 oz can of pumpkin and be incredibly easy.
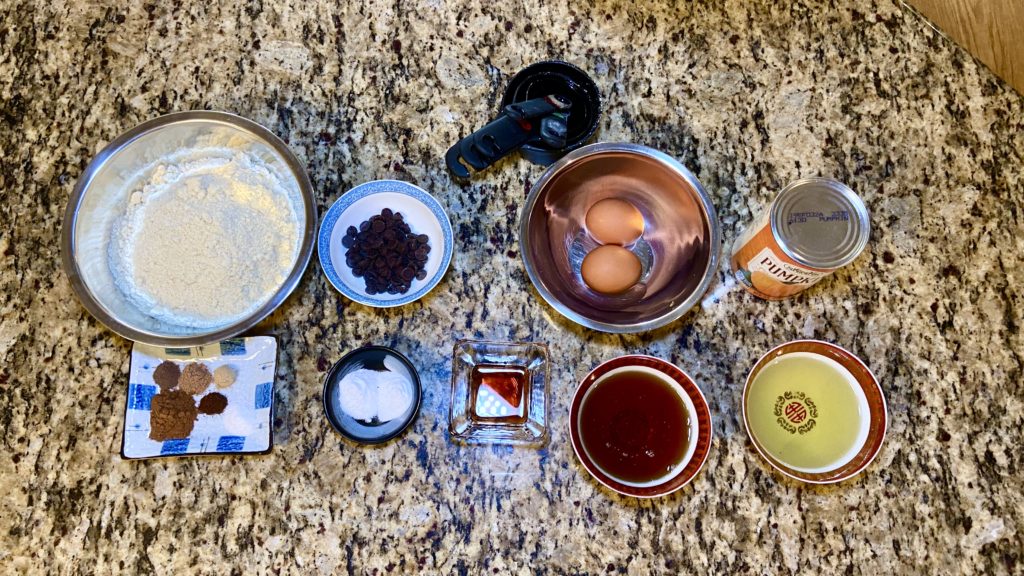
On the left are your dry ingredients. On the right are you wet ones. In this batch, I’ve decided to make pumpkin spice chocolate chip muffins, but there are many variations to this recipe you can try (see the bottom of this post for some ideas!). mix the dry ingredients together (except the chocolate chips) and mix the wet ingredients together. Step 1 done.
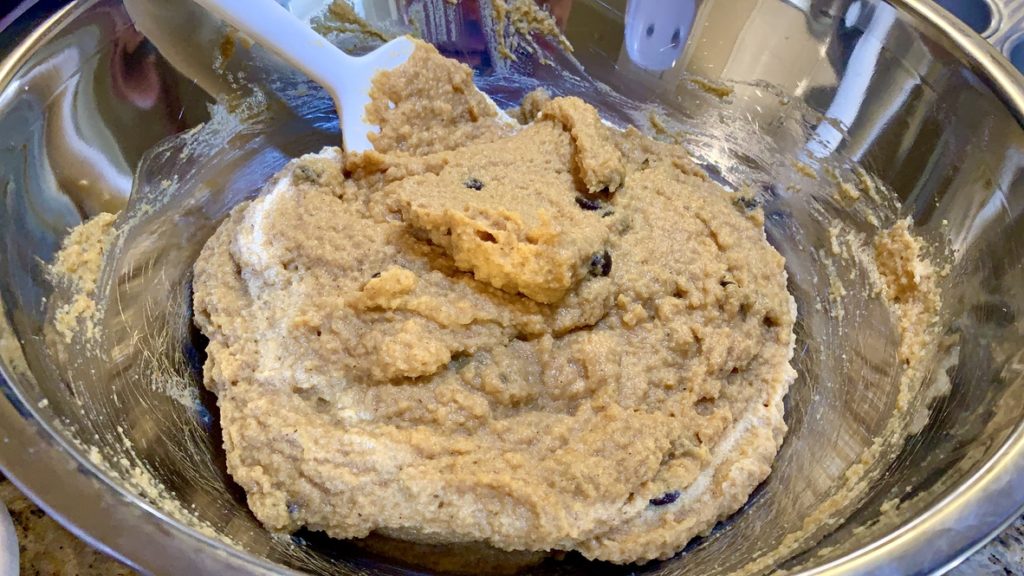
Then mix together! One the wet and dry ingredients are incorporated together, add the chocolate chips and fold them in. The final batter should look like the above… wet but not runny and not 100% smooth since we are working with pumpkin and not wheat flour.
Pour into an oiled muffin tray (or line each muffin cup with a paper liner).
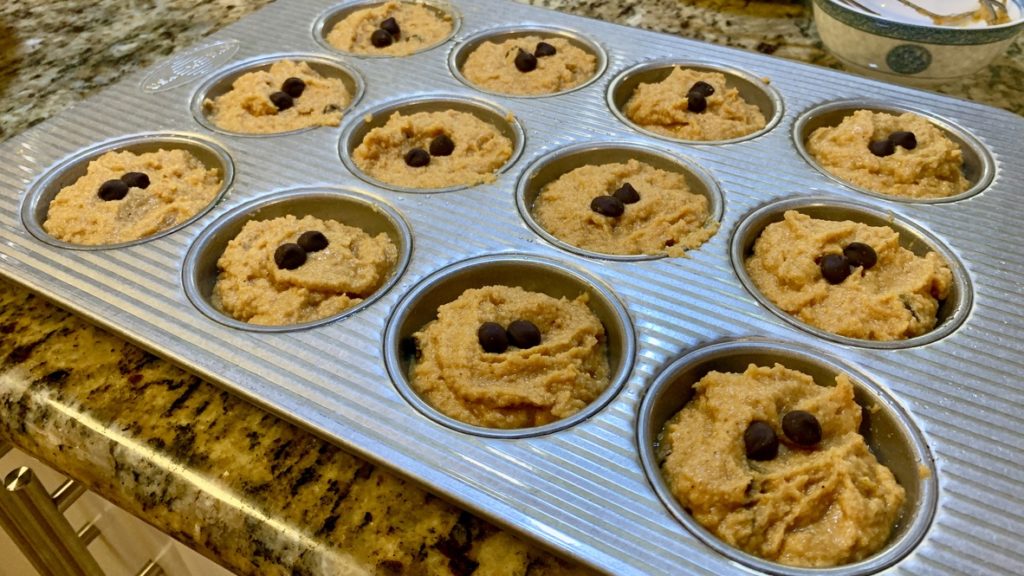
Bake at 350ºF (176ºC) for 40-45 minutes. One finished, let cool for 10 minutes and then remove from tray to cool at room temperature before storing. Enjoy!
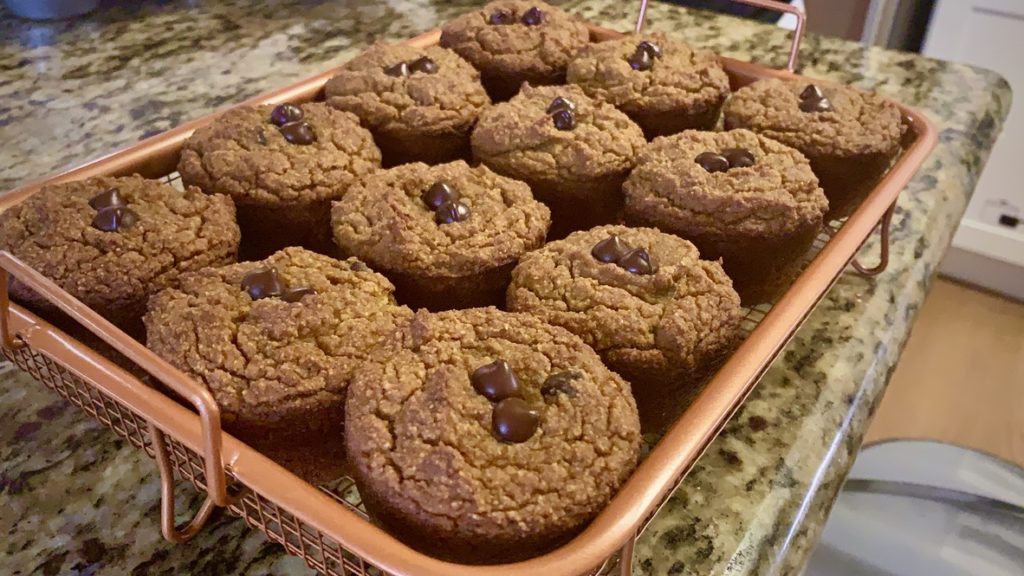
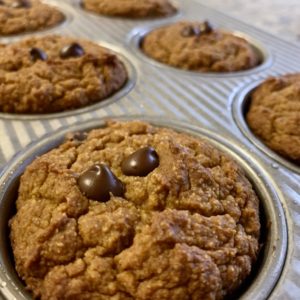
Gluten Free Dairy Free Pumpkin-Based Muffins
Equipment
- Muffin pan
Ingredients
Wet Ingredients
- 2 cups Pumpkin puree (approx 1 15-16 oz can) Can substitute other autumn squashes, or sweet potato puree
- 2 eggs
- 2 tsp vanilla extract
- 1/2 cup maple syrup Can substitute sugar or honey (see notes)
- 1/2 cup avocado oil Can substitute for other oil
Dry Ingredients
- 2 1/2 cups almond flour
- 1 tsp baking powder
- 1 tsp baking soda
- 1 tsp salt
See notes on flavor variations
Instructions
- Pre-heat oven to 350ºF (177ºC)
- Combine the pumpkin puree, maple syrup, vanilla extra, eggs, and oil in a bowl and mix until smooth (an electric mixer is ideal, but you can also do this with a high-powered blender or by hand).
- In a separate large bowl, sift in the almond flour. Add the baking soda, baking powder, salt, any spices if using (see notes), then stir with a whisk until well mixed.
- Pour the wet ingredients into the dry ingredients and mix together until well incorporated. It should be slightly clumpy, but you should not see any dry ingredients separated from the wet. Fold in your additional mix-ins if using (see notes).
- Grease a muffin tray with oil and an oil brush. Scoop the batter and evenly distribute between the 12 cups (you can tap the tray on the counter a few times to help the batter settle into its cups). Add a little flair if you want (i topped mine with a few chocolate chips for decoration). Place the muffin tray in the oven and bake for ~40-45 minutes.
- Take the muffin tray out of the oven and use a skewer to test for done-ness (stick the skewer in one of the muffins. When you remove it, it should come out clean with no wet batter sticking to it. If there's batter, it means the muffin is not fully cooked inside. Place it back in the oven for another 5-10 minutes and then test again)
- Let the muffin tray cool on the counter for ~10 minutes, then gently remove the muffins and rest on a wire rack to fully cool to room temperature before storing.
- You can eat these while they're still warm, or store them in the fridge for a few days. These muffins also store well in the freezer. Just pop one in the microwave or toaster oven when you want to eat and they'll be warm and melty (if you used chocolate chips) like you first baked them.
Notes
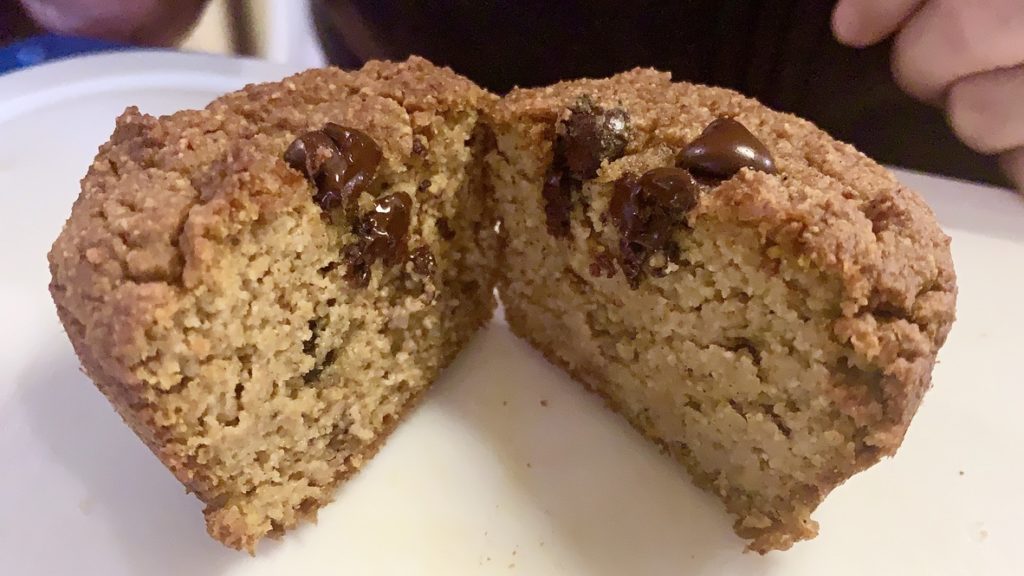
Variations
This is a base recipe and can be adapted to other flavors. Give these options a try:
Pumpkin Spice Muffins
- add 2 tsp of pumpkin spice to the dry ingredients (Pumpkin Spice Blend recipe)
Chocolate Chocolate Chip Muffins
- add 1/4 cup of cocoa powder (NOTE: Cocoa powder soaks up a lot of moisture so you may need to add a little bit of water (or milk of choice) to compensate)
- mix in 1/4-1/2 cup of chocolate chips to the batter
Chai Spice Muffins
- add 2 tsp chai spice to the dry ingredients (Chai Spice Blend recipe)
Supplemental Recipes
- Corn Free Baking Powder
- How to make pumpkin puree from raw whole pumpkins (or squash!)
Leave a Reply